
When accidents happen, sometimes your iPhone 6 or 6S screen can get cracked or shattered. What are you going to do now? You need to fix your broken iPhone 6 screen; in general, you have two choices: one sends your iPhone 6/6S to repair store for repair, another is “repair your cracked iPhone 6 screen by yourself”. So you there are two questions:
- Where to get iPhone 6 screen fixed?
- How to replace iPhone 6 screen?
For the question one: where to fix iPhone 6 screen? you can contact us, we will recommend the best and nearest repair shop for you; and if you want to know “how to fix a cracked iPhone 6 screen?” You can read the following guide, we’re here to help.
In this case, if you’re short on cash not on confidence, then you can completely replace the broken LCD screen with a brand new one for your iPhone 6s or iPhone 6s plus by yourself. All you need are a set of Phone Opening Toolkits and a replacement LCD screen digitizer touch screen assembly for the device
(if you need these repair tools and iPhone 6 replacement LCD screen, you can order them from us).
In the previous articles, we showed some iPhone screen tear down skills as well as videos:
Here we will tell some useful and helpful tips when we conduct an iPhone 6s/6s plus LCD screen replacement.
A Phone Repair Kit usually includes the following items:
- Philips Screwdriver
- Flat Head Screwdriver
- Pentalobe Screwdriver
- Nylon Spudger
- Replacement 3M Adhesive
- Suction Cup
- Fiber Cleaning Cloth
iPhone 6s/6s plus Disassemble Notes: Matters Needing Attention
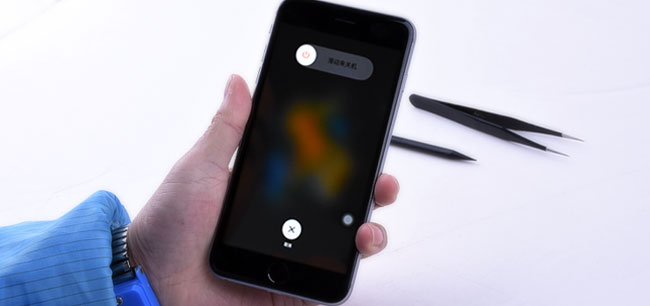
Before stripping your phone down, the power of it till the screen goes out to avoid short circuit and prevent the electronic parts and components from being damaged.
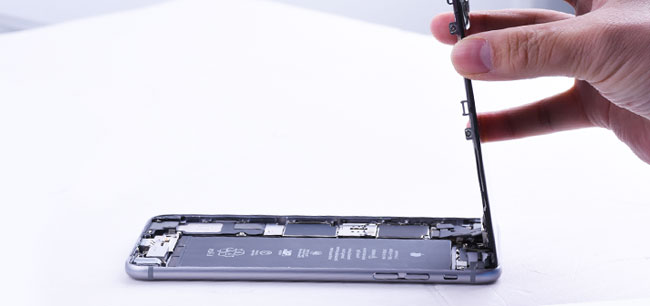
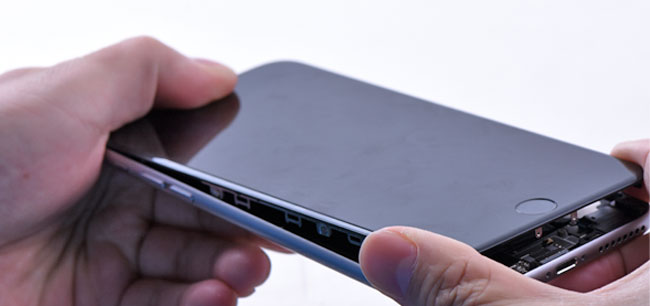
With the LCD Display and Digitizer Touch screen assembly with frame open, we need to assure of that the angle between screen and body should be less than 90 degrees to protect the flex cable.
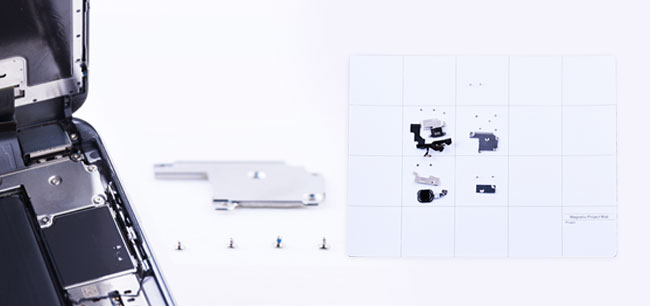
Please note that all the screws have unique positions. It would be better to set these screws aside in the same pattern as they are situated on the bracket. Or, it will be better if you have a Magnetic Project Mat, all the screws will be right where you undo them.
Here are some possible consequences if you mix up the screws.
A. The region below the ear speaker turns yellow
B. Penetrate the LCD screen/digitizer
C. Damage the motherboard
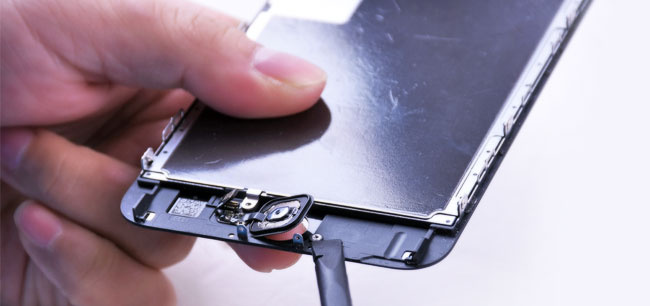
Don’t apply too much pressure to unglue the home button assembly (home button, home flex cable and home button aperture), for there is a lay of dust-proof tape around the home button. You should be more patient. (You can read the iPhone 6s home button not working)
Gently separate the LCD flex cable from the body, for it is glued to the front glass lens.
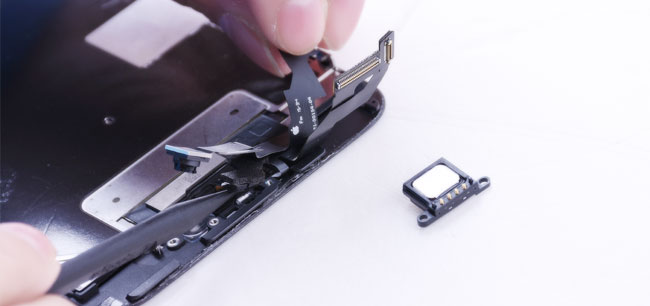
Flex cables are always fragile therefore please be careful when reconnecting it to the logic board. Hold the bottom part of the flex cable ribbon with one hand, and then slightly bend the flex with the other hand. Bear it in mind that we keep holding the flex cable in the course of reconnecting.
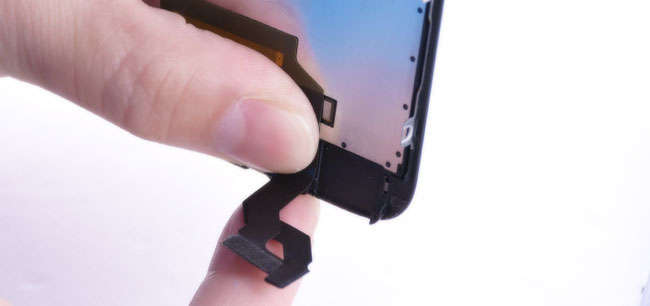
To solve these problems, you need to reconnect the flex cables. For static line, it will take 30 minutes to completely clear the static electricity on the screen after reconnected, since it is a capacitive touchscreen.
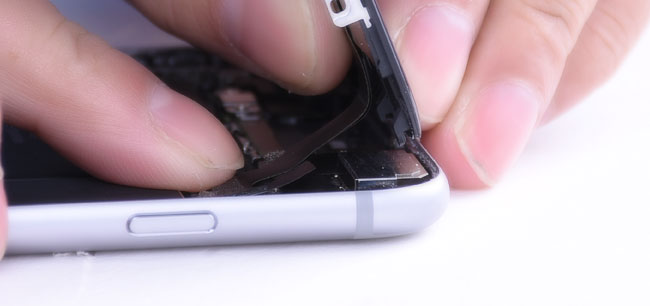
Tips: A slight voice/noise shows the LCD display screen flex cable and motherboard connected properly. Rough operation or mishandling may result in series problems such as touch screen and home button no response, static line, digitizer defect, screen shinning etc.
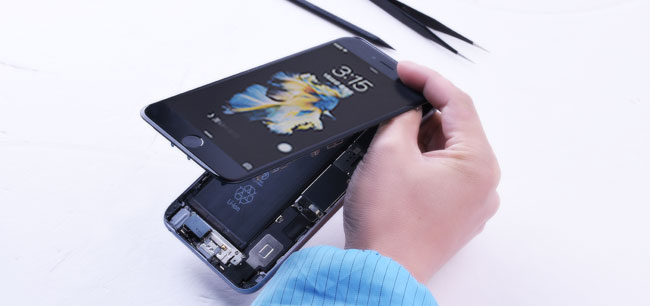
Make sure the angle between the screen and body is less than 45 degrees during the screen test.
Be sure of that there are no dust and dots on the camera lens before installing the front-facing camera.
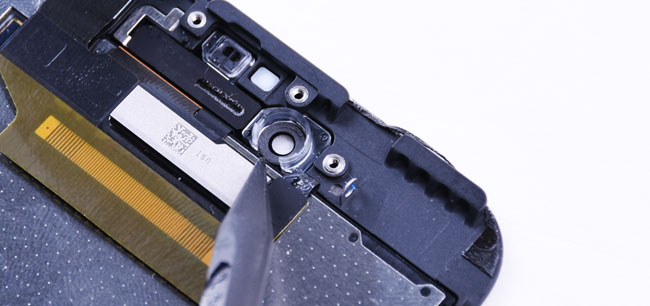
In the end, be sure the LCD display screen assembly is properly aligned with the top edge.
What do you think of these tips? If you think these tips are useful for you, you can collect it and subscribe to our blog, w will often update some knowledge and videos about cell phone repair.
Want to order our products? Please contact us:


